The $600 Drip: What That Annoying Faucet Is Really Costing You

Listen to that.
Drip. Drip. Drip.
That sound in your bathroom at 2 AM that keeps you awake. The constant plink in your kitchen sink. The puddle forming under your cabinet.
Most people think a leaky faucet is just annoying. It's actually expensive.
That single drip every second? It's wasting 3,000 gallons per year. At average U.S. water rates, that's about $35 in water costs alone. Add sewer charges (based on water usage), and you're at $60- $ 70 annually. Let it drip for ten years? That's $600-700 down the drain—literally.
But here's the thing: most leaky faucets take 15-30 minutes to fix and cost under $20 in parts.
This guide covers everything you need to know to fix a leaky faucet yourself, save thousands of gallons of water, and keep that money in your wallet instead of sending it to the water company.
By the time you finish reading this, you'll know more about faucet repair than 90% of homeowners. And you'll probably save yourself a service call fee (which runs $150-200 just to show up in most of the US).
Let's stop that drip.
Why Your Faucet Is Leaking (And Why It Matters)
Before we grab tools, let's understand what's happening. Faucets leak for surprisingly simple reasons.
The Real Cost of a Leaky Faucet
The USGS (United States Geological Survey) has done extensive research on this. Here's what different leak rates actually cost you:
1 drip per second:
- 3,000 gallons per year are wasted
- $60-70 in water and sewer costs annually
- Enough water for 180 showers
1 drip every 10 seconds:
- 300 gallons per year are wasted
- $6-7 annually
- Still worth fixing (takes 20 minutes, costs $10 in parts)
Steady drip (multiple per second):
- 5,000+ gallons per year wasted
- $100+ annually
- Can cause mold, cabinet damage, and increased humidity
Thin stream (pencil-width):
- 9,000+ gallons per year wasted
- $180+ annually
- Emergency—fix immediately
But money isn't the only cost.
A leaky faucet also causes:
- Water stains on the sink and fixtures
- Mineral buildup around the drain
- Increased humidity (can cause mold)
- Cabinet damage if it's leaking from the base
- That annoying sound that drives you crazy
- Wasted environmental resources during droughts
In California, Arizona, Nevada, and other drought-prone states, there are sometimes fines for failing to promptly fix leaks. Water conservation isn't optional anymore.
How to Fix a Dripping Compression Faucet (Most Common Repair)
This is the classic fix that saves most people the most money. If you have a two-handle faucet that requires multiple turns to open, it likely has compression faucets.
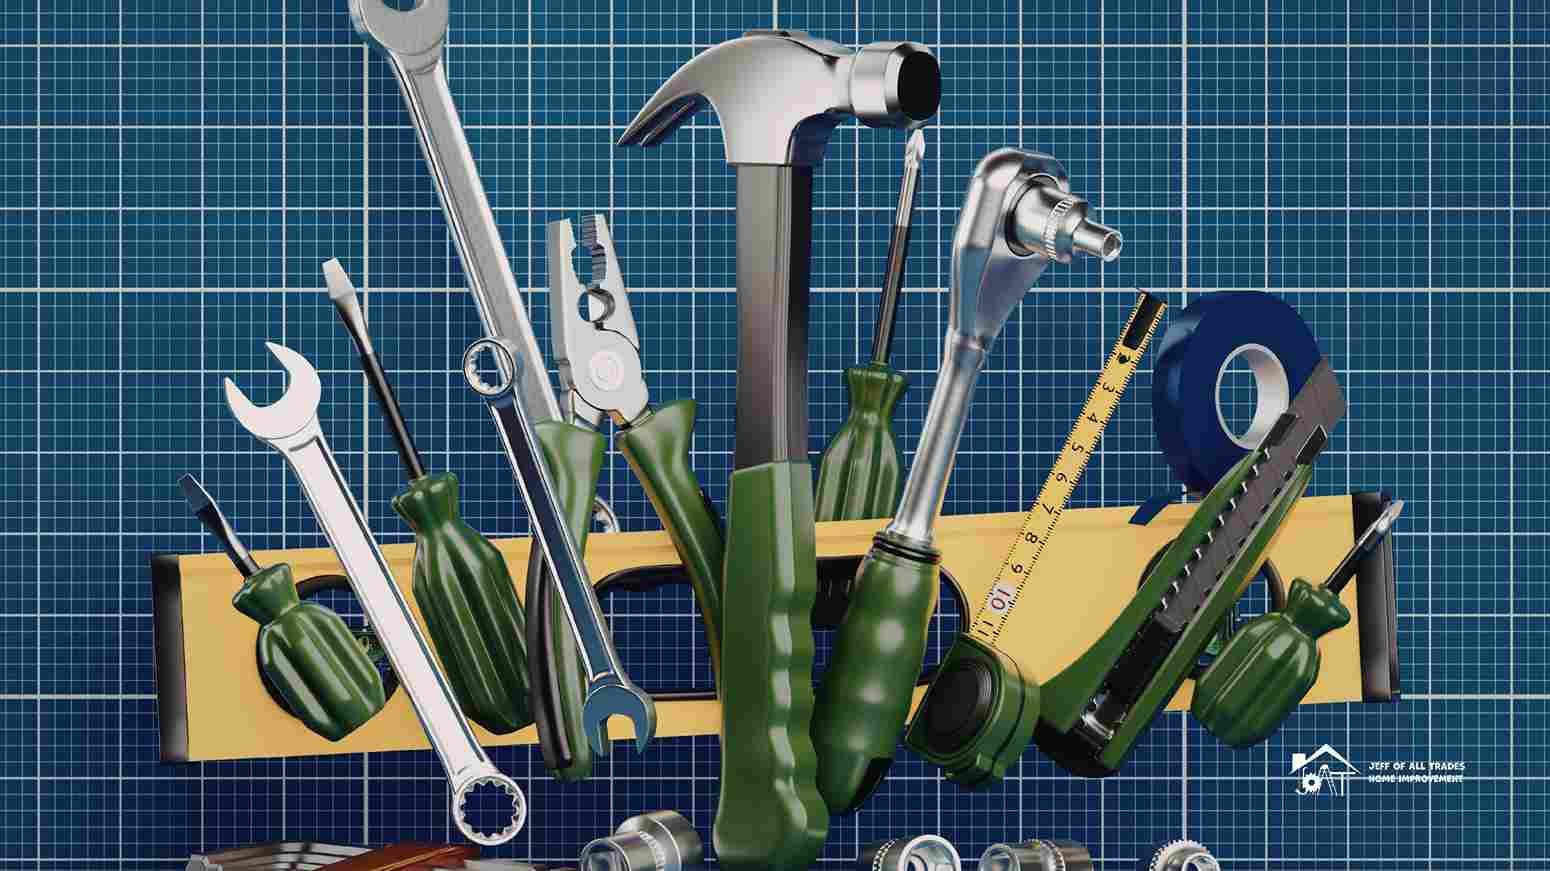
Tools and Materials You'll Need
Tools:
- Adjustable wrench or channel locks
- Screwdriver (flathead and Phillips)
- Flashlight
- Bucket or bowl
- Towel
Materials (under $10 total):
- Replacement washers (assorted pack, $3-5)
- Replacement O-rings if needed ($2-4)
- Plumber's grease (small tube, $3)
- Vinegar (if you have mineral buildup)
Optional but helpful:
- Seat wrench ($5, if valve seat is damaged)
- Penetrating oil (if parts are stuck)
Step-by-Step: Stopping That Drip
Step 1: Turn off the water supply
Look under your sink. You'll see two valves (one for hot, one for cold). Turn them clockwise until tight.
No shut-off valves under your sink? You'll need to shut off your home's main water supply. It's usually in the basement, crawl space, or outside near your water meter.
Test that the water is off: Turn on the faucet. It should quickly run dry, given the water in the pipes. Leave the faucet open to drain remaining water.
Step 2: Close the drain or cover it
Put the sink stopper in or cover the drain with a towel. You'd be amazed at how many people drop a tiny screw down the drain and have to call us to retrieve it.
Step 3: Remove the handle
Most compression faucet handles have a decorative cap on top labeled "H" or "C". Pry it off gently with a flathead screwdriver.
Under the cap, you'll find a screw (usually Phillips-head, sometimes flat-head). Remove this screw and set it aside in a safe location.
Pull the handle straight up. It might be stuck due to mineral deposits. Don't force it—you'll crack the handle. Instead, try:
- Wiggling while pulling
- Using a handle puller (available at hardware stores, $8-12)
- Tapping gently with a rubber mallet while pulling
Step 4: Remove the packing nut
Once the handle is off, you'll see a large hexagonal nut. This is the packing nut (or bonnet nut).
Use your adjustable wrench or channel locks to turn it counterclockwise (lefty-loosey).
It might be tight—that's okay. Get a good grip and apply steady pressure. If it's really stuck, a tiny bit of penetrating oil and 5 minutes of waiting can help.
Step 5: Remove the stem
Under the packing nut is the valve stem. It usually unscrews by turning counterclockwise.
Pull the entire stem assembly out. Set it on a towel.
This is what you're looking at: The stem has a rubber washer at the bottom, secured by a brass screw. This washer is probably what's worn out.
Step 6: Inspect everything
Look at:
The rubber washer on the bottom of the stem: Is it flat and smooth, or grooved and deformed? If it's not perfectly flat, it's worn and needs replacement.
The brass screw holding the washer: Is it corroded? If so, replace it too (hardware stores sell these, pennies each).
The O-rings on the stem: rubber rings around the stem body. Are they cracked, flat, or deteriorated? Replace them, too.
The valve seat (inside the faucet body): Shine a flashlight into the opening where the stem exits. At the bottom, you'll see a brass or chrome ring with a central hole. This is the valve seat. Run your finger around it (gently—it's metal). Is it smooth, or do you feel grooves, pits, or corrosion?
If the valve seat is damaged, the washer can't seal properly, even when new. You'll need a seat wrench ($5 tool) to remove and replace it, or you can call a plumber.
Step 7: Replace the washer
Remove the brass screw securing the old washer. The washer will slide right off.
Match the size: Take the old washer to the hardware store if you're unsure which size to buy. They come in standard sizes (3/8", 1/2", etc.). Most assorted washer packs include all common sizes.
Washer types:
- Flat washers: Most common, for most faucets
- Beveled washers: For seats with angled surfaces
- Swivel washers: Attached to the stem, rotate to maintain a good seal
When in doubt, use flat washers—they work for 90% of compression faucets.
Place the new washer on the stem and secure it with the brass screw. Don't overtighten—you'll deform the washer—just snug.
Step 8: Replace O-rings if needed
If the O-rings on the stem look worn, cut them off carefully with a utility knife (don't scratch the stem).
Roll new O-rings down onto the stem. Apply a small amount of plumber's grease to help them slide more easily and create a better seal.
O-ring sizing: Measure the old O-ring's diameter and thickness, or take the stem to a hardware store for sizing. They'll match it for you.
Step 9: Reassemble everything
Now put it all back together in reverse order:
- Screw the stem back into the faucet body (clockwise, hand-tight)
- Thread on the packing nut and tighten with your wrench (snug but not crazy tight)
- Replace the handle and tighten the screw
- Snap the decorative cap back on
Step 10: Test it
Turn the water supply back on slowly. Watch for leaks around the handle base as you do.
Once pressure is restored, turn the faucet on and off a few times. Let water run for 30 seconds.
Turn it off completely. Wait 2 minutes. Check for drips from the spout.
No drips? Congratulations, you just fixed your faucet! Total time: 20-30 minutes. Cost: $5-10. Savings compared to calling a plumber: $150-$250.
Still dripping? The valve seat is probably damaged. You can try replacing it with a seat wrench, or contact Jeff's Home Improvement for professional help.
Pro Tips From 15 Years of Faucet Repairs
Tip #1: Take photos as you disassemble. Your phone is the best tool for remembering where things go.
Tip #2: Work on one faucet handle at a time. If you're fixing both hot and cold, do one completely before starting the other. This way, you have a reference if you forget how something is assembled.
Tip #3: Put parts in a muffin tin or egg carton. Each compartment holds parts from one step—no more lost screws.
Tip #4: Clean mineral deposits while you're in there. Soak the stem and any removable parts in white vinegar for 20 minutes. Scrub with an old toothbrush. This removes calcium buildup and improves overall performance.
Tip #5: Replace washers on both hot and cold sides. Even if only one is dripping, the other is likely close to failure. Fix both while you're there.
Tip #6: If the packing nut is really stuck, don't force it. You'll crack the faucet body, which means replacing the entire faucet. Apply penetrating oil, wait 15 minutes, and try again. Still stuck? Call a pro—we have special tools for stuck fittings.
How to Fix a Leaking Cartridge Faucet
Cartridge faucets are super common in American homes. Delta, Moen, and Price Pfister all make cartridge-style faucets. They're reliable but eventually wear out.
The Challenge: Identifying Your Cartridge
Here's the tricky part: there are literally hundreds of different cartridge designs. A Delta cartridge won't fit a Moen faucet. Even within the same brand, different models use different cartridges.
You need to identify your exact cartridge before buying a replacement.
Best method:
- Take the faucet handle off (we'll show you how)
- Remove the cartridge
- Take it to a plumbing supply store or Home Depot/Lowe's
- They'll match it to the correct replacement
Alternative method:
- Find any markings on your faucet (brand name, model number)
- Look under the sink—sometimes there's a model sticker
- Google "[brand name] faucet cartridge identification"
- Many brands have online tools where you input your faucet style and get the cartridge part number
Cost: Cartridges range from $15 to $ 40, depending on brand and quality. Moen faucet cartridge replacements are often free if you're under warranty (Moen has a limited lifetime warranty).
Fixing Leaks Around the Faucet Base
If water is pooling around the base of your faucet, you have a different problem: worn O-rings on the spout.
This is super common in pull-out kitchen faucets, where the spout moves or extends.
Step-by-Step: Replace Spout O-Rings
Step 1: Turn off the water
Step 2: Remove the spout
For most faucets, the spout lifts straight up once you've removed the handle and any retaining hardware. Check your specific faucet model—some have a setscrew or retaining clip.
Step 3: Locate the O-rings
The spout will have 1-3 rubber O-rings around the base. These seal the connection to the faucet body.
Step 4: Remove old O-rings
Cut them off with a utility knife (carefully—don't scratch the metal).
Step 5: Install new O-rings
Measure the old O-rings or take them to the hardware store for matching. Buy replacements (usually $2-5).
Apply plumber's grease to the new O-rings. Roll them onto the spout body in the exact positions where the old ones were.
Step 6: Reinstall the spout
Push the spout firmly back onto the faucet body until it seats properly.
Step 7: Test
Turn the water on. Run water at full pressure. Check around the base for leaks. No leaks? Perfect.
Total time: 20 minutes
Cost: $2-5
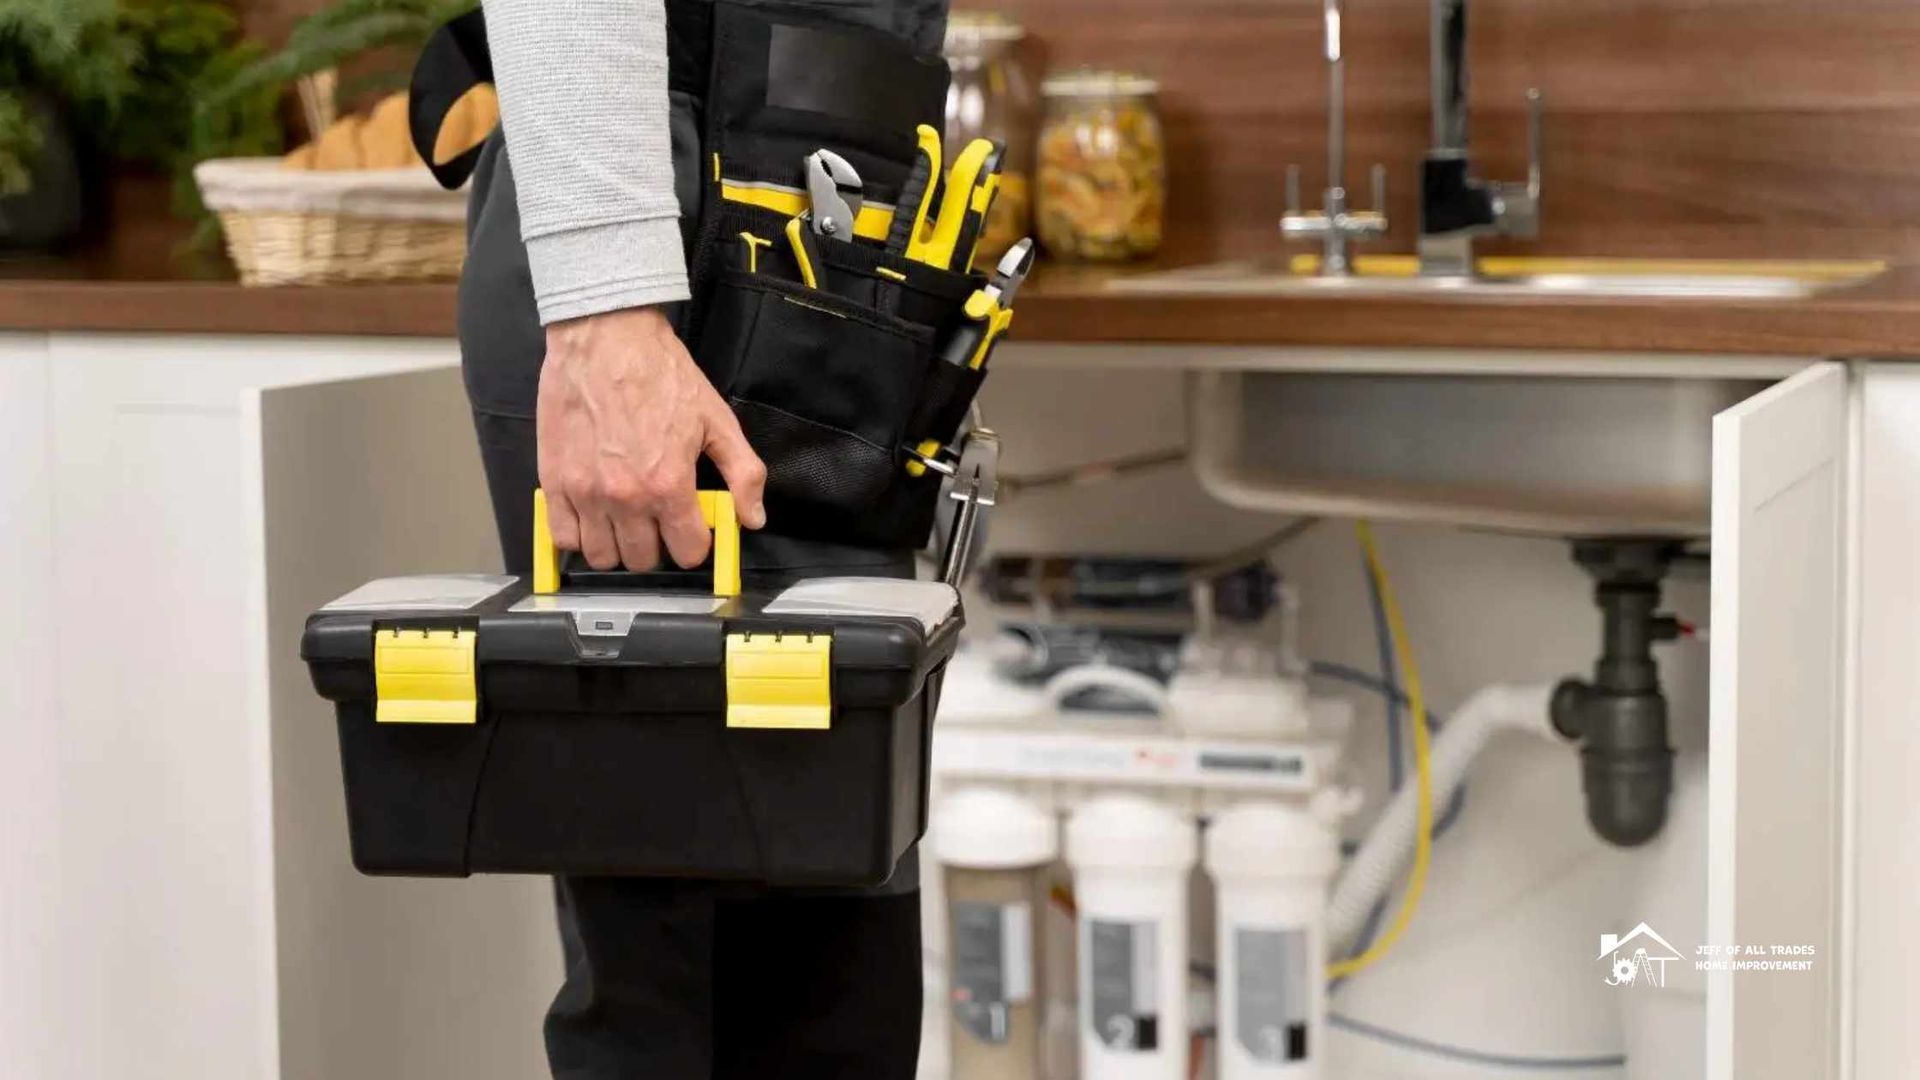
When to Call a Professional (And When It's Worth It)
You can probably handle it yourself if:
- The faucet is dripping from the spout
- You can identify the faucet type and find replacement parts
- You have basic tools
- The problem is a worn washer, cartridge, or seal
- You're comfortable working with your hands
Call Jeff's Home Improvement or another professional if:
1. You can't turn off the water supply
There are no shut-off valves under your sink, and you don't know where your main shut-off is.
2. Parts are stuck or corroded
You've tried for 20 minutes to remove the packing nut, and it won't budge. Don't force it—you'll break the faucet. We have special tools for frozen fittings.
3. You can't identify the faucet or find parts
It's an old faucet, brand unknown, and nobody can match the cartridge. A pro can often figure it out or recommend a replacement.
4. The leak is under the sink at the connections
This may be due to supply line issues, corrosion, or faucet mounting problems—more complex than a simple washer swap.
5. The faucet is high-end or antique
A $900 Grohe or Hansgrohe faucet deserves professional repair to avoid accidental damage. Same for antique or vintage fixtures.
Is professional repair worth it?
Compare:
- DIY: 1-2 hours of your time, $10-40 in parts, risk of mistakes
- Professional: 30-60 minutes, $180-280, guaranteed fix
If your time is worth $50/hour or more and you're not confident in your abilities, hiring a professional makes financial sense. Plus, you get our warranty—if the faucet leaks again within a year, we fix it at no charge.
Preventing Future Faucet Leaks
You've fixed the drip. Great! Now let's make sure it doesn't come back.
Maintenance Tips That Actually Work
1. Don't overtighten faucet handles
This is the #1 cause of premature washer wear. When you turn off the faucet, turn it just until the water stops—no more. Don't muscle it. You're compressing a rubber washer, not tightening a bolt.
2. Clean aerators every 6 months
The aerator (screen at the end of the spout) catches sediment. When clogged, it restricts flow and increases pressure on internal components.
Unscrew the aerator, rinse it, soak it in vinegar for 10 minutes if there's mineral buildup, then reinstall. Takes 2 minutes.
3. Fix high water pressure
If your home has water pressure above 80 PSI, it will damage faucets, washers, and seals more quickly. Invest in a pressure-reducing valve for your main line (installation cost: $150-300).
How to check pressure: Buy a water pressure gauge at any hardware store ($10). Screw it onto an outdoor faucet and turn on the water. Ideal pressure is 50-60 PSI. Anything above 80 PSI needs reduction.
4. Address hard water
If you have hard water (mineral-rich water common in much of the US), minerals slowly build up inside faucets, leading to premature failure.
Solutions:
- Install a whole-house water softener ($800-2,000)
- Clean faucet internals with vinegar annually
- Replace aerators and cartridges more frequently
5. Replace washers before they fail completely
If your compression faucets are 3-5 years old, replace all washers during routine maintenance, even if they're not leaking yet. Takes 30 minutes, costs $10, and prevents future drips.
The Bottom Line: Small Fixes, Big Savings
That dripping faucet seems like a minor annoyance. But it's not.
It's:
- Wasting 3,000 gallons per year
- Costing you $60-70 annually in water bills
- Potentially damaging your sink and cabinets
- Driving you crazy with that constant drip-drip-drip
And fixing it takes 20-30 minutes and costs $5-40 in parts.
Most people can fix their own leaky faucets with basic tools and the guidance in this article. You don't need to be a plumber. You don't need specialized skills. You just need to identify your faucet type, get the right parts, and follow the steps.
But if you try it and get stuck, or if you just don't want to deal with it, that's what we're here for. Call Jeff's Home Improvement, and we'll fix any faucet problem in your home quickly and affordably.
Don't let that drip waste another gallon. Fix it this weekend. Save the water, save the money, and sleep better without that annoying sound keeping you awake at 2 AM.
Your faucet—and your water bill—will thank you.