Smooth Walls Ahead: The Art of Sheetrocking
Creating smooth, flawless walls is essential to any home renovation or remodeling project. Whether you're finishing a basement, repairing damaged walls, or starting from scratch, understanding The Art of Sheetrocking can help you achieve professional-looking results. Proper sheetrocking techniques enhance your home's structural integrity and aesthetic appeal. In this guide, we'll cover the basics of sheetrocking, tips for success, and why hiring professional Sheetrocking services from Jeff Home Improvement can save you time and effort.
Understanding Sheetrocking
Sheetrocking, known as drywall installation, attaches gypsum boards to walls or ceilings to create a smooth, paint-ready surface. It's crucial in home construction and renovation projects, providing insulation, fire resistance, and soundproofing.
Types of Sheetrock
There are several types of sheetrock available, each designed for different applications:
-
Standard Drywall – Ideal for general use in dry areas of the home.
-
Moisture-Resistant Drywall – Also known as green board, perfect for high humidity in bathrooms and kitchens.
-
Fire-Resistant Drywall – Contains fiberglass to enhance fire resistance and is often used in garages and stairwells.
-
Soundproof Drywall – Designed to reduce noise transmission between rooms.
The Sheetrocking Process
Proper installation of sheetrock involves several steps:
1. Preparation
-
Measure and cut drywall panels to fit the space.
-
Mark stud locations on the drywall for secure fastening.
-
Ensure electrical and plumbing work is completed before installation.
2. Installation
-
Secure drywall panels to the studs using screws or nails.
-
Use a utility knife to cut openings for outlets, switches, and fixtures.
-
Stagger seams to avoid weak points in the wall.
3. Taping and Mudding
-
Apply joint tape over seams to prevent cracks.
-
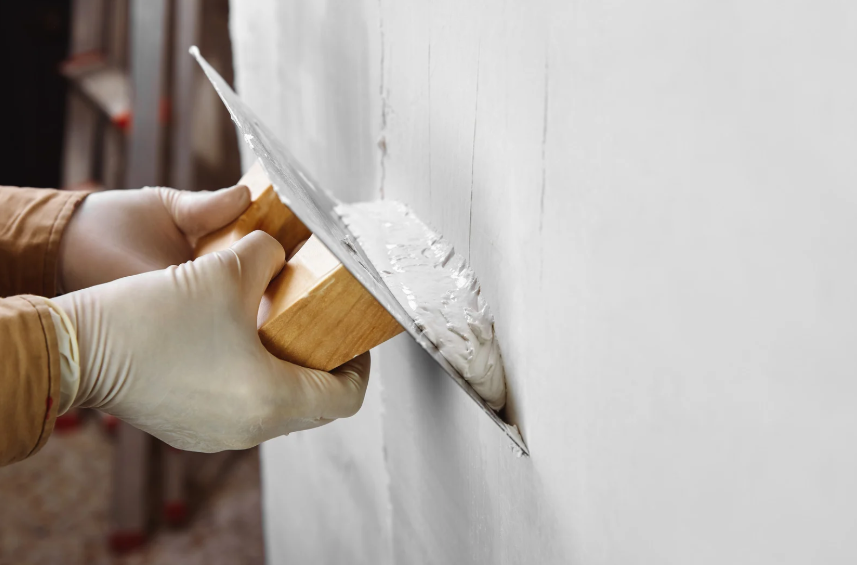
Use joint compound (mud) to cover tape and screw holes.
-
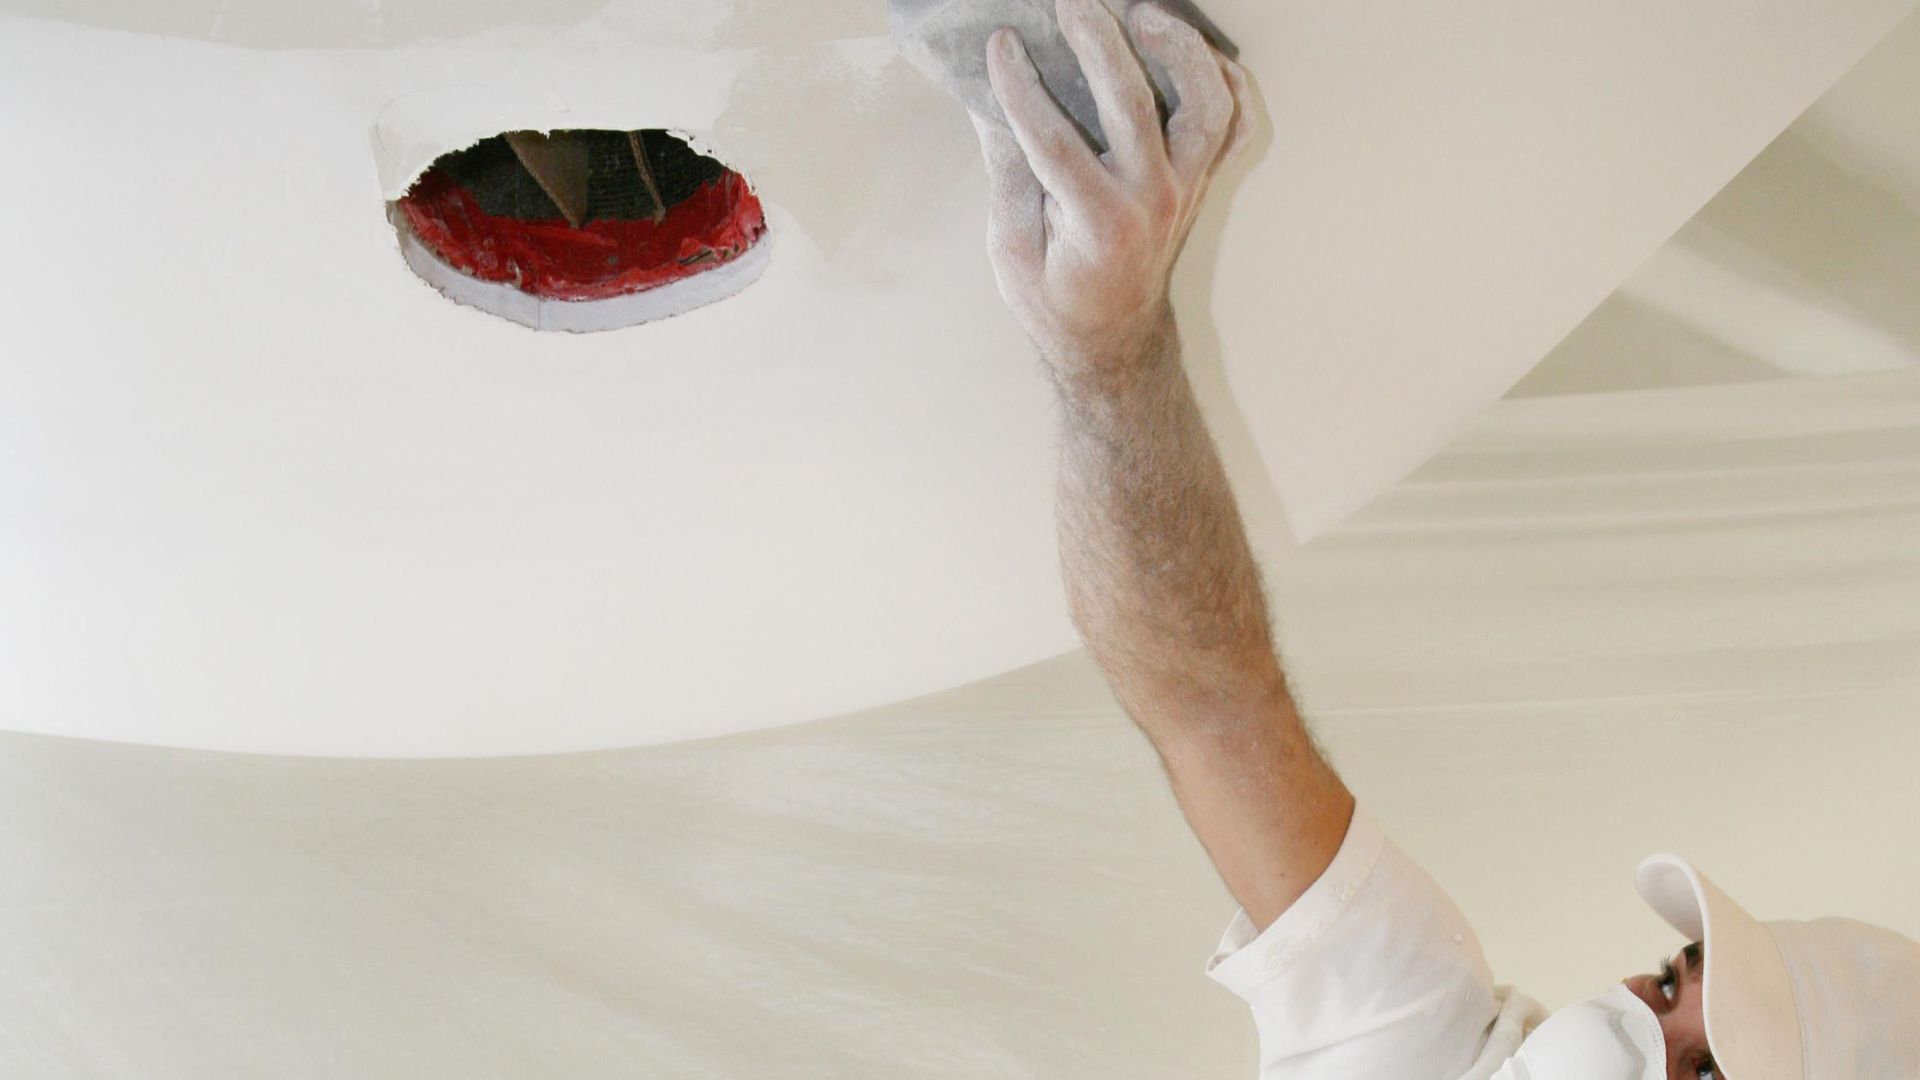
Allow each layer to dry before sanding for a smooth finish.
4. Sanding and Priming
-
Lightly sand the dried joint compound to remove imperfections.
-
Apply a primer to prepare the surface for painting.
Tips for a Professional Finish
-
Use the Right Tools – A drywall T-square, a utility knife, and a mudding knife are essential.
-
Apply Thin Coats – Multiple thin layers of joint compound create a smoother surface than one thick layer.
-
Avoid Over-Sanding – Excessive sanding can damage the drywall and create uneven spots.
-
Work in Proper Lighting – Shadows can hide imperfections; bright lighting helps identify problem areas.
Benefits of Professional Sheetrocking Services
While DIY sheetrocking is possible, hiring professional Sheetrocking services from Jeff Home Improvement ensures:
-
Precision and Expertise – Skilled professionals know how to avoid common mistakes and deliver a flawless finish.
-
Time and Cost Efficiency – DIY projects often take longer and result in costly errors.
-
Quality Materials – Experts use high-quality materials suited to your home's needs.
-
Seamless Results – A professional touch ensures walls are smooth, even, and ready for painting.
Conclusion
Mastering The Art of Sheetrocking takes patience, skill, and attention to detail. Whether you're tackling a small repair or a full-scale renovation, proper drywall installation is essential for achieving a smooth and professional finish. Jeff Home Improvement offers top-tier Sheetrocking services for homeowners looking for expert results to handle your project with precision and efficiency. Contact us today to bring your walls to life with expert craftsmanship!


