

Top Mistakes When DIY-Tiling Floors and How to Avoid Them
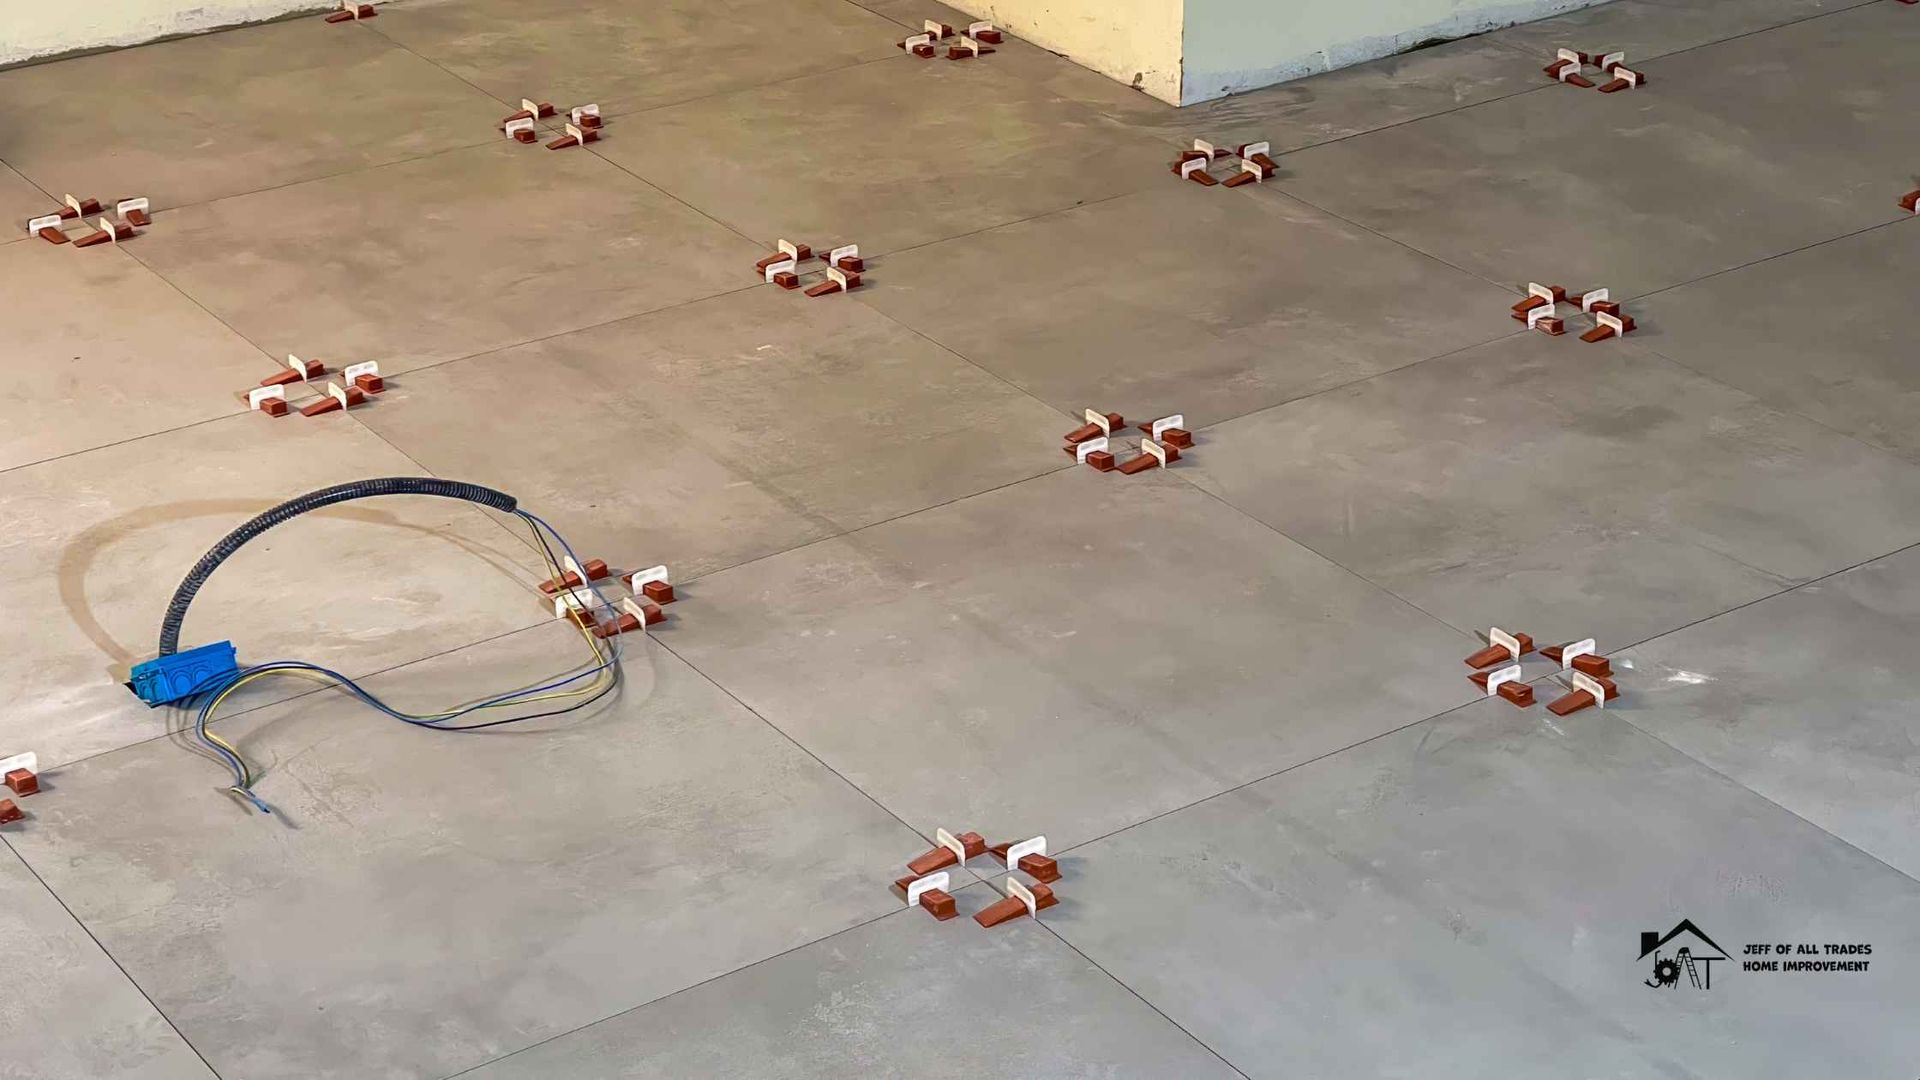
So you’ve binge-watched a few renovation videos and convinced yourself,
“How hard can laying a few ceramic squares on the floor be?”
Ask anyone who installs tile for a living, and they’ll tell you:
hard enough to go wrong in a dozen expensive ways.
Here’s a battle-tested list of the blunders we run into most when we are called to clean up a job, along with the habits, gear, and checkpoints they rely on to make sure those blunders never crop up in the first place.
Starting Without a Plan or Layout
The DIY mistake
- Opening the first box, slapping the first tile against the longest wall, and “seeing where it goes.”
- Ending with awkward 1 cm slivers of tile at the doorway or a crooked grout line that runs visually downhill across the room.
How to avoid these mistakes?
Dry-lay and grid.
They lay out a full row in each direction—without adhesive—to discover cut sizes before mixing mortar.
Find the focal axis.
A professional asks, “Where will people first see this floor?” and aligns a primary grout line with that sightline.
Use control lines.
They snap two chalk lines, perfectly square to one another and to the room, that serve as the reference crosshairs for every tile.
Pro tip: When walls are out of square (they usually are), pros “split the difference”—trim both sides slightly so no edge screams “crooked.”
2. Skimping on Subfloor Prep
The DIY mistake
- Tiling directly over a deflecting subfloor, a squeaky plank, or shiny vinyl.
- Believing thin-set mortar is a magic paste that erases bumps and gaps.
How To Avoid It
- Deflection test.
They verify the joist spacing and span meet L/360 deflection criteria for ceramic (L/720 for stone). If not, they stiffen the floor or change materials. - Flatten to 3 mm in 3 m (¹⁄₈″ in 10′).
High spots are ground down; low spots are filled with self-leveling underlayment (SLU). - Decouple and waterproof.
Professionals add cement backer board, fibered membranes, or uncoupling mats, fastening every 20 cm (8″) with approved screws and mortar underneath.
3. Using the Wrong Mortar or Mixing It Wrong
The DIY mistake that turns kitchens into disaster zones:
Walk into any big-box store on a Saturday morning. You'll spot them immediately – the weekend warriors grabbing whatever "tile adhesive" happens to be marked down, like they're shopping for breakfast cereal.
Price is the only factor.
Brand?
Specifications?
Who cares, it's all the same sticky stuff, right?
Then comes the mixing nightmare. They eyeball the water like they're making pancake batter. Too little liquid creates peanut-butter globs that won't spread beyond the trowel. Too much turns it into soup that runs off faster than spilled milk. Either way, you're looking at a floor that'll haunt you for years. The really painful part? Watching them try to "fix" bad mortar by adding random amounts of powder or water. It's like trying to un-burn toast – once you've messed up the chemistry, there's no going back.
How to keep this from going sideways
Pick the right mud for the material – it's not all the same. Porcelain tiles are dense and absorb very little moisture. Regular thin-set just slides around underneath them like butter on a hot pan.
That's why they reach for polymer-fortified thin-set. The polymers create a stronger, more flexible bond that can withstand porcelain's stubbornness. Big tiles – anything over 15 inches – present their own headaches. Their weight causes them to sag before the mortar sets. Medium-bed mortar stays workable longer and has more body to support heavy tiles without letting them slide down the wall like melting ice cream.
Glass tiles are the divas of the tile world. They're translucent, so any mortar that shows through ruins ruins the whole look. Plus, they expand and contract more than ceramics. Bright-white, high-flex mortar handles both problems – stays invisible and moves with the glass.
Mix like a chemist, not a cook, experimenting with leftovers
Wrong Trowel Size and Coverage
The DIY mistake
Spreading thin-set with a too-small V-notch meant for mosaics, achieving 40 % coverage instead of the 80–95 % required.
How to avoid it
- Select by tile size.
• ≤6″ tile → ¼″×¼″ square notch
• 12–15″ tile → ⅜″×⅜″
• >15″ or stone → ½″×½″ or Euro-notch - Key in the coat first.
They burn a thin layer into both the floor and the tile back with the flat side of the trowel. - Lift-and-check ritual.
Every few tiles, they pull one up, verifying full ridges collapsed and at least 80 % coverage (95 % for wet areas).
Forgetting to Back-Butter Large Format Tile
The DIY mistake
Assuming mortar ridges on the floor alone will bond a 24″×48″ porcelain slab.
How to avoid it
They spread a skim coat on the tile back with the flat trowel, filling waffle patterns and increasing contact area → near-100 % bond.
Ignoring Expansion and Movement Joints
The DIY mistake
Hard-grouting every perimeter and doorway, then wondering why tiles mysteriously crack or peel a year later.
How the professionals head off cracking and tenting:
- Edge breathing room
Along walls, curbs, and columns, they leave a 6–12 mm gap. Once the floor is grouted, that gap is filled with color-matched silicone—not grout—so the tile can expand and contract without stress. - Flexible joints in the field
In large rooms, areas flooded with sunlight, or over radiant-heat systems, they add soft joints every 6–8 m in both directions, in accordance with ANSI A108 and TCNA EJ171 guidelines.
Improper Grout Application and Cleanup
The DIY mistake
Flooding joints, cleaning too early, leaving pinholes, and a permanent haze.
How to avoid it
- Grout type.
• Sanded for joints ≥3 mm
• Unsanded for delicate glass or narrow joints
• Pre-mixed or epoxy where stain resistance is vital - Pack, don’t smear.
They hold the float at 45°, forcing grout deep, then pull diagonally to clean surplus. - Two-bucket wash.
One for rinsing, one for final clean water; microfiber towels rather than old sponges.
Rushing the Cure and Load
The DIY mistake
Walking or moving appliances on tile the same night because “the mortar felt hard.”
How to avoid it
They respect cure charts:
– Light foot traffic after 24 h
– Grout after 24–48 h (unless rapid-set)
– Heavy loads after 72 h+
In cold garages, they tent and heat to maintain 10–21 °C for the first 48 h.
Skipping Sealer or Maintenance Education
The DIY mistake
Believing porcelain “never needs anything” or that grout sealer is optional.
How to avoid it
Seal what needs sealing.
Natural stone, cementitious grout, and some porcelains receive a penetrating sealer 72 h after grouting.
Leave a care sheet.
They educate clients on pH-neutral cleaners and on avoiding bleach, vinegar, and steam mops, which can degrade grout.
Final Thoughts: DIY-Tiling Floors
DIY tiling isn’t impossible—it’s unforgiving. Each 30 × 30 cm square you set is a permanent postcard announcing how much patience, math, and respect you brought to the job. Borrow the habits above, and your floor will broadcast “professional” even if the only crew on site was you, a playlist, and plenty of pizza.
Contact Jeffs of All Trades Home Improvement for
floor tiling services.