Retrofitting Recessed Lighting: Upgrade Your Home's Illumination
- By Faseeh Blackloup
- •
- 18 Mar, 2025
- •
Why Retrofit Recessed Lighting?
Upgrading to recessed lighting is an excellent way to modernize your home without extensive renovations. Here are some key benefits:
1. Improved Aesthetics
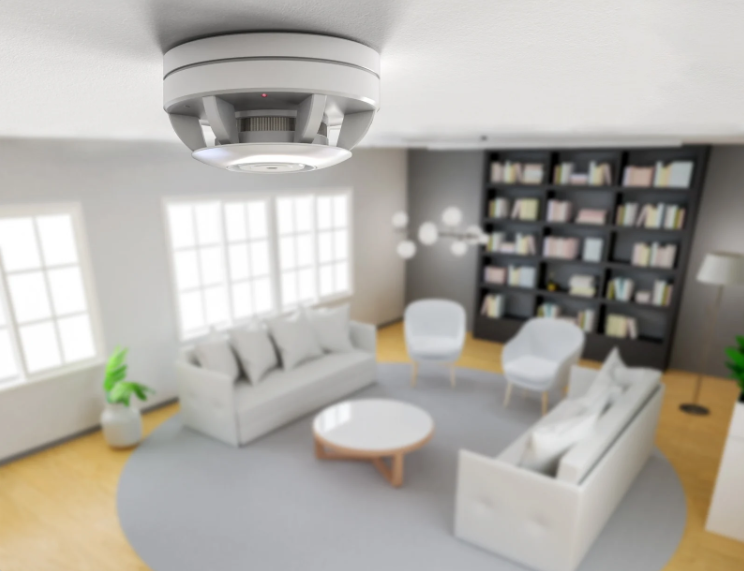
Recessed lighting blends seamlessly with ceilings, eliminating bulky fixtures and creating a streamlined, modern look. It works well in kitchens, living rooms, bedrooms, and bathrooms.
2. Energy Efficiency
Older lighting fixtures often consume more electricity. Upgrading to LED recessed lights can reduce energy consumption and lower utility bills. Many LED retrofit kits are ENERGY STAR-rated, meaning they meet strict efficiency standards.
3. Enhanced Lighting Control
Recessed lighting allows for better control over illumination. You can create the perfect atmosphere for any room with dimmers, smart lighting systems, and directional options.
4. Increased Home Value
A well-lit home appears more spacious and inviting. Retrofitting recessed lighting can be attractive for potential buyers if you plan to sell your home.
Things to Consider Before Retrofitting
Before starting your lighting upgrade, consider these key factors:
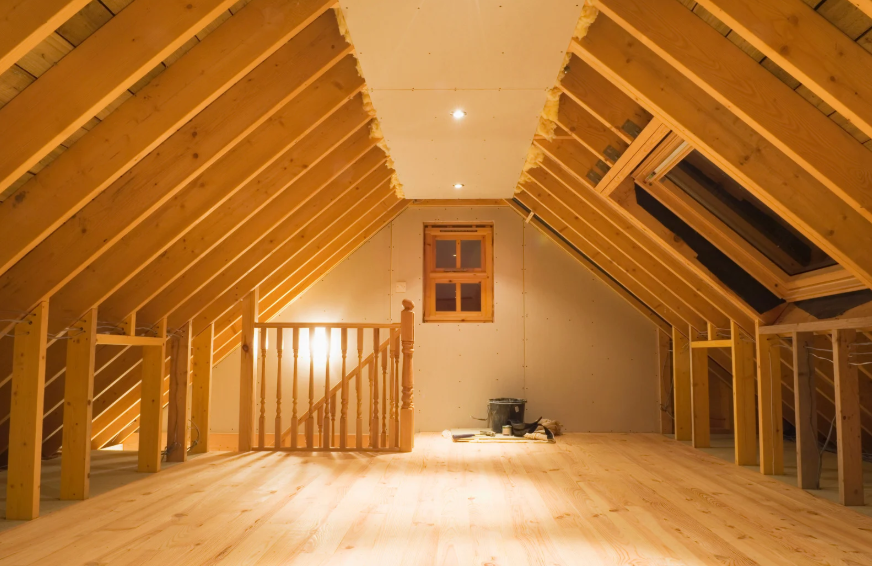
1. Ceiling Type
Recessed lighting is easier to install in drywall or drop ceilings. However, modifications may be needed for concrete or plaster ceilings.
2. Existing Wiring
If your home has outdated wiring, you may need professional assistance to ensure safety and compliance with electrical codes.
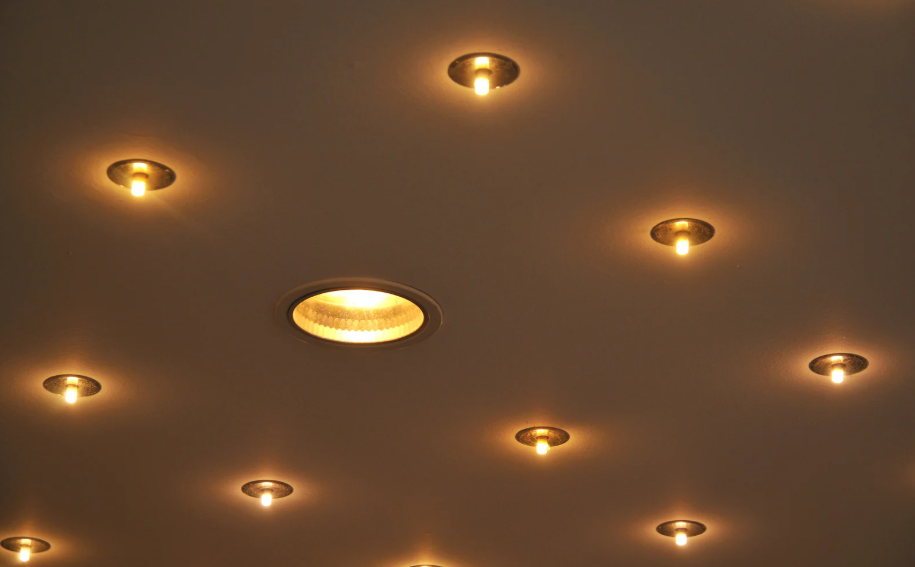
3. Lighting Placement
Strategically placing your lights can make a significant difference. Avoid overcrowding or placing lights too far apart to maintain even illumination.
4. Trim and Style Options
Recessed lighting comes in various trim styles, including baffle, eyeball, and decorative trims. Choose one that complements your home's décor.
Installation Guide for Retrofitting Recessed Lighting
Retrofitting recessed lighting can be a DIY project, but hiring professionals ensures a safer and more efficient installation. Here's a basic step-by-step guide:
Step 1: Turn Off Power
Safety first! Shut off the power to the circuit you'll be working on at the electrical panel.
Step 2: Remove Old Fixtures
If replacing existing lights, carefully remove old fixtures and disconnect the wiring.
Step 3: Cut Openings (If Needed)
If you're installing new lights, mark and cut openings in the ceiling using a template provided with your recessed light kit.
Step 4: Install Retrofit Kits
For an easy upgrade, retrofit LED recessed lights to fit into existing can housings. Connect the wiring and secure the fixture in place.
Step 5: Connect Wiring
Match the wires (black to black, white to white, and ground to ground). Secure the connections with wire nuts and place them inside the junction box.
Step 6: Insert and Secure the Light
Push the fixture into the ceiling opening and secure it using the mounting clips.
Step 7: Restore Power and Test
Turn the power back on and test your lights. If using dimmers, ensure they are compatible with your recessed lights.
Why Choose Professional Installation?
While DIY installation is possible, hiring experts like Jeff Home Improvement ensures a seamless and safe retrofit. Professional Recess Lighting services include proper wiring, placement, and troubleshooting, helping you avoid costly mistakes and code violations.
Final Thoughts